DUNE 3 is a powerful synthesizer widely used by music producers and sound designers. It offers a variety of effects, including reverb, which can enhance the depth and atmosphere of a sound. However, in some cases, too much reverb can make a sound muddy or unclear. If you want a cleaner, more precise sound, you may need to remove or reduce the reverb effect in DUNE 3.
This guide will walk you through the steps to locate, adjust, and completely remove reverb in DUNE 3. Whether you’re working on electronic music, cinematic scores, or sound design, this article will help you achieve the best sound quality by controlling the reverb settings effectively.
Locating Reverb in DUNE 3
Before you can remove reverb, you need to know where to find it in DUNE 3. The reverb effect is part of the synthesizer’s built-in effects section. Here’s how to locate it:
- Open DUNE 3 in Your DAW: Launch DUNE 3 within your digital audio workstation (DAW) such as FL Studio, Ableton Live, Logic Pro, or any other compatible software.
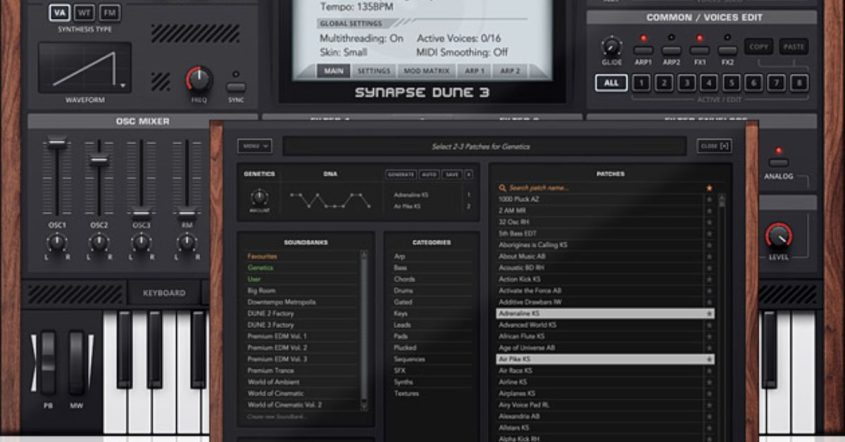
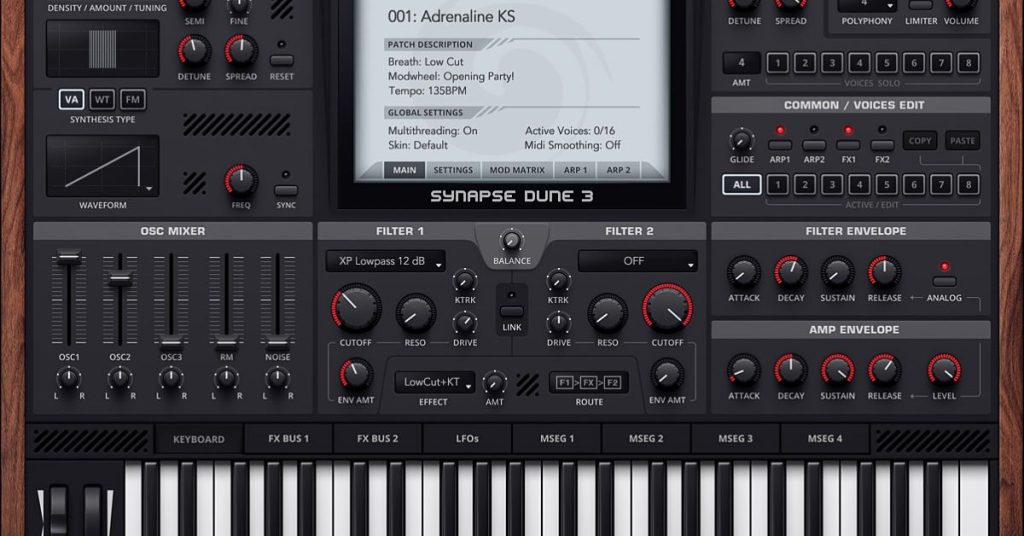
- Access the Effects Section: In DUNE 3’s interface, locate the effects panel, which contains various built-in effects, including delay, chorus, and reverb.
- Find the Reverb Effect: The reverb effect is usually labeled clearly in the effects section. It might be listed alongside other effects in a dropdown menu or as an adjustable parameter.
Once you have located the reverb effect, you can proceed to modify or remove it.
Steps to Remove Reverb in DUNE 3
Now that you know where the reverb effect is located, follow these steps to remove it:
1. Accessing the Effects Panel
- Open the Effects tab in DUNE 3.
- Look for the Reverb effect in the list of active effects.
2. Disabling or Bypassing the Reverb Effect
- Click on the Reverb effect to select it.
- Look for a bypass button. Many plugins allow you to bypass effects, temporarily disabling them to hear the difference.
- If a bypass button is available, turn it on to mute the reverb.
3. Adjusting Mix and Decay Settings to Minimize Reverb
If you don’t want to remove reverb entirely but just reduce its intensity, follow these steps:
- Reduce the Mix Level: Lower the Mix knob or parameter to 0%. This will remove the reverb’s presence in the sound.
- Shorten the Decay Time: Reduce the Decay setting to shorten the reverb tail. This makes the effect less noticeable.
- Lower the Room Size: If there is an option to adjust the room size, set it to the lowest value for a minimal reverb effect.
Saving Your Settings Without Reverb
Once you have removed or minimized the reverb, it’s a good idea to save your changes as a new preset. This allows you to recall the sound without reverb in future projects quickly.
How to Save a New Preset:
- Click on the Preset Menu in DUNE 3.
- Select Save As or Create New Preset option.
- Name the preset something like “No Reverb Patch” to distinguish it.
- Save it for easy access in future sessions.
Alternative Methods to Remove Reverb in DUNE 3

If you still hear reverb after following the steps above, consider these additional methods:
1. Using External Audio Tools
Some external tools can help remove reverb from an audio signal if it was recorded with reverb applied. These tools include:
These tools analyze the audio and remove reverb intelligently. However, they work best on recorded audio rather than live synthesized sounds.
2. Using an EQ to Reduce Reverb Effects
Reverb often affects higher and lower frequencies more prominently. Use an EQ to:
- Cut the low frequencies where reverb muddies the sound.
- Reduce the high frequencies to tame excessive airiness caused by reverb.
3. Using a Noise Gate or Expander
A noise gate can help control reverb by cutting out lower-level sounds after the main sound has played. Adjust the threshold to reduce the reverb tail while keeping the main sound intact.
4. Layering Dry Sounds
If your patch still has too much reverb, consider layering a dry version of the sound (without effects) to balance out the reverb-heavy version.
Conclusion
Removing reverb in DUNE 3 is simple once you know where to look. By following these steps, you can clean up your sound and ensure better clarity in your music production. Whether you’re bypassing the reverb, adjusting its parameters, or using external tools, controlling reverb allows you to shape your sound effectively. Experiment with different settings to find the perfect balance for your music. With practice, you’ll master the art of sound design and achieve the exact tone you need. Happy producing!